One of my favorite things to do this time of year is to go berry picking. There is something so nourishing to the mind and body to be able to pick your own food and then enjoy it. I cry a little inside because we don’t have much of a backyard to grow anything right now. But, I sure am grateful to live in a place like Oregon, that has endless areas to get fresh, seasonal produce.
We are big blueberry fans at our house, but lately, I have been loving marionberries. They are actually a blackberry that was developed at a college here in Oregon (pretty cool, huh?). They call it the “cabernet of blackberries.” Ha! It has a strong flavor, so I typically like to bake with them. This time, however, since the weather has been so warm, I opted to make an “ice cream” with it.
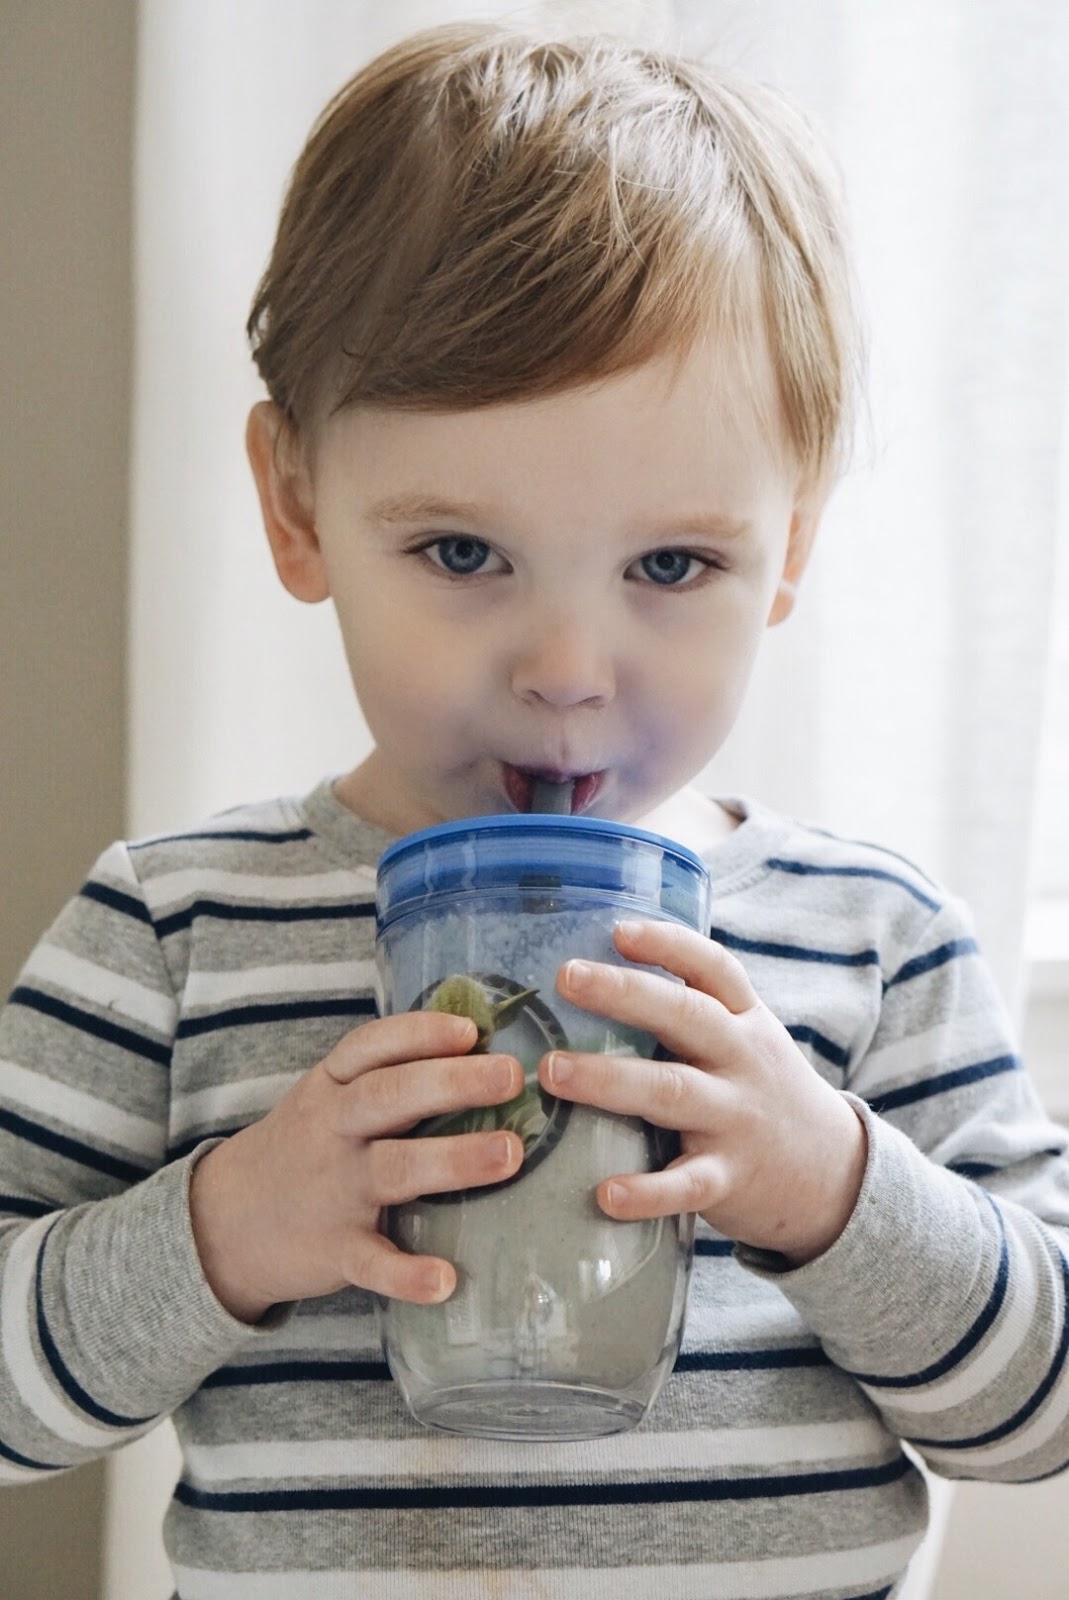
This is a really refreshing twist on ice cream and I can promise you that you won’t have that yucky post-ice cream feeling. It is also a big hit with Parker, so this is very toddler-friendly.
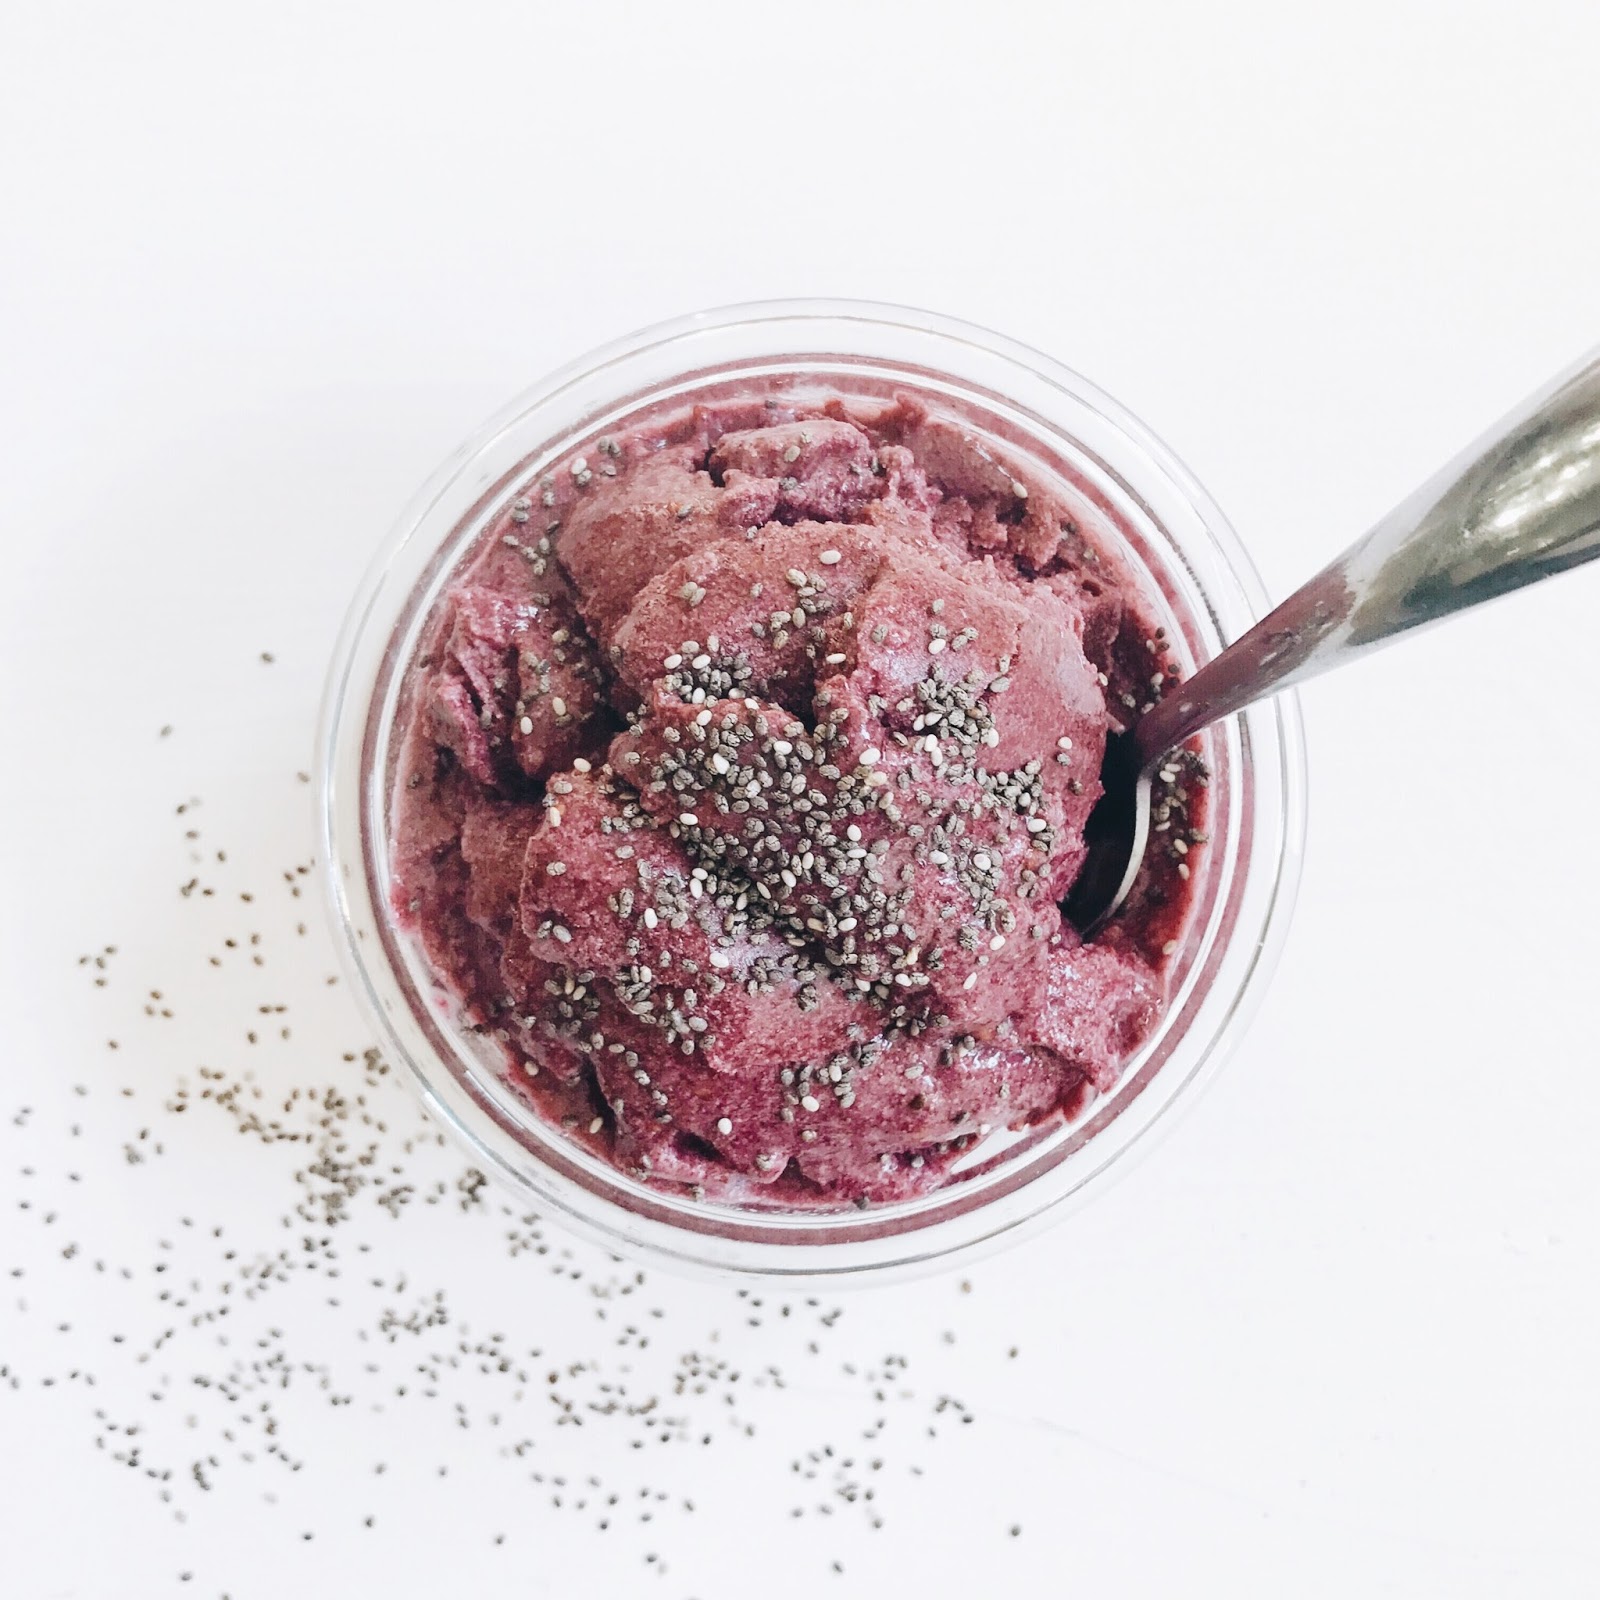
Marionberry Nice Cream
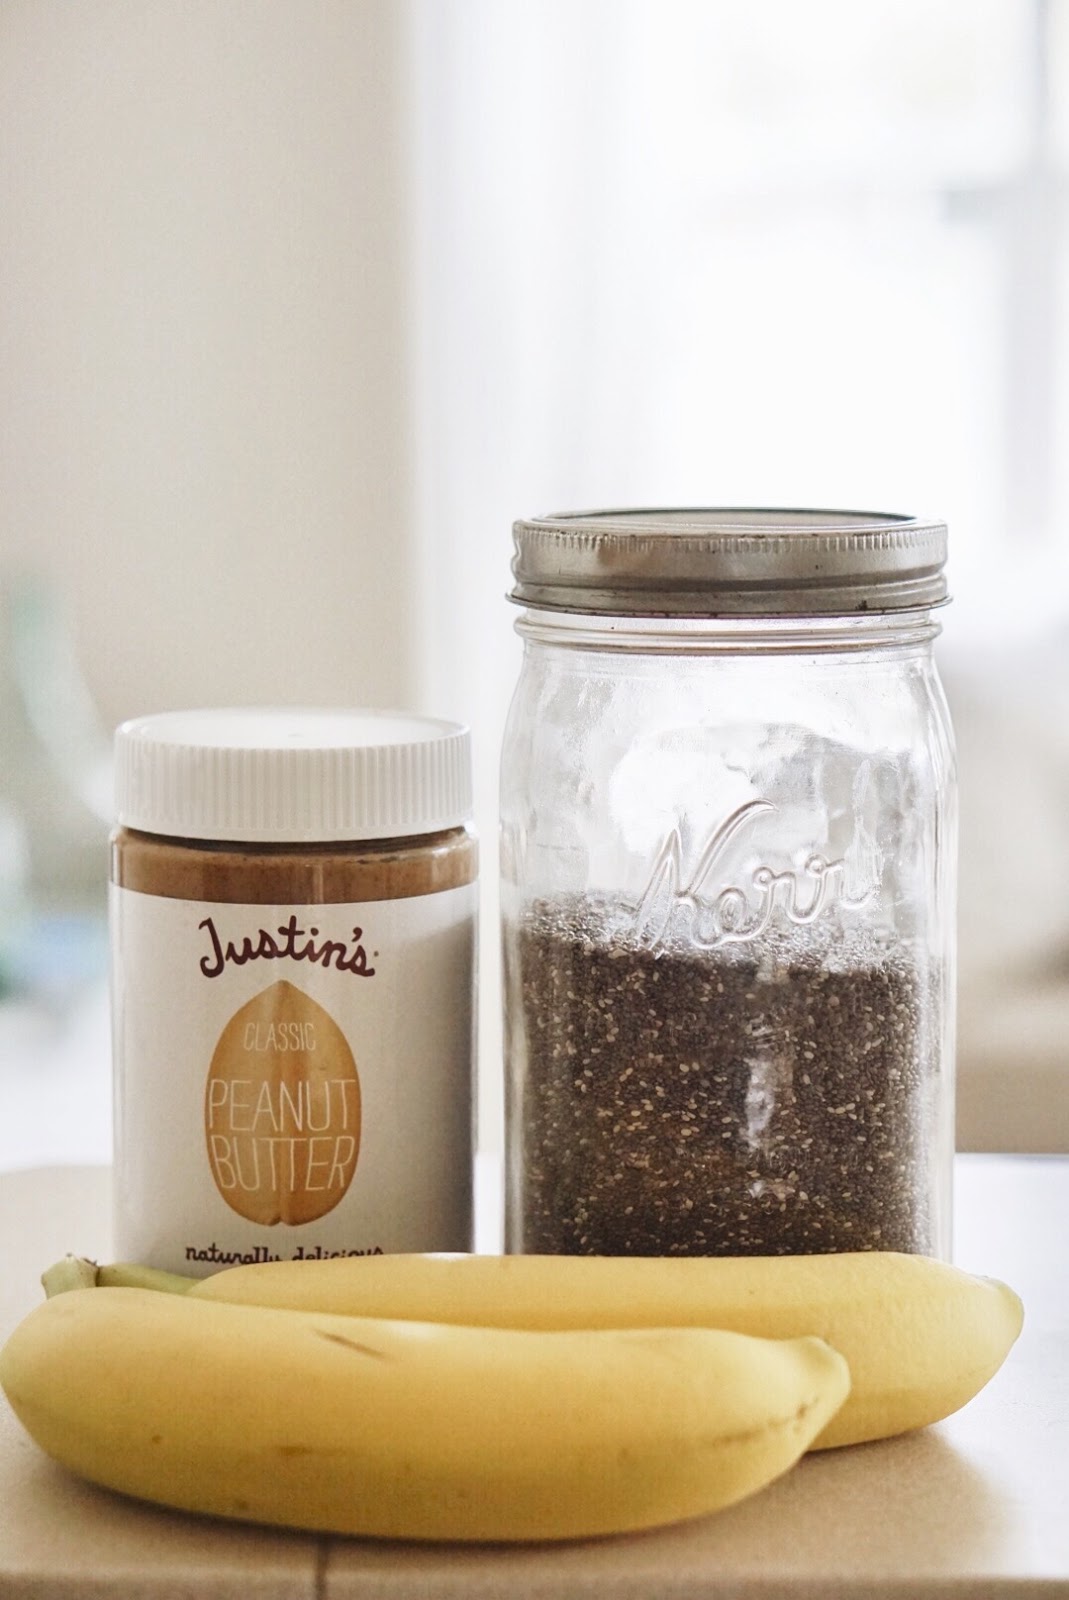
2 frozen bananas
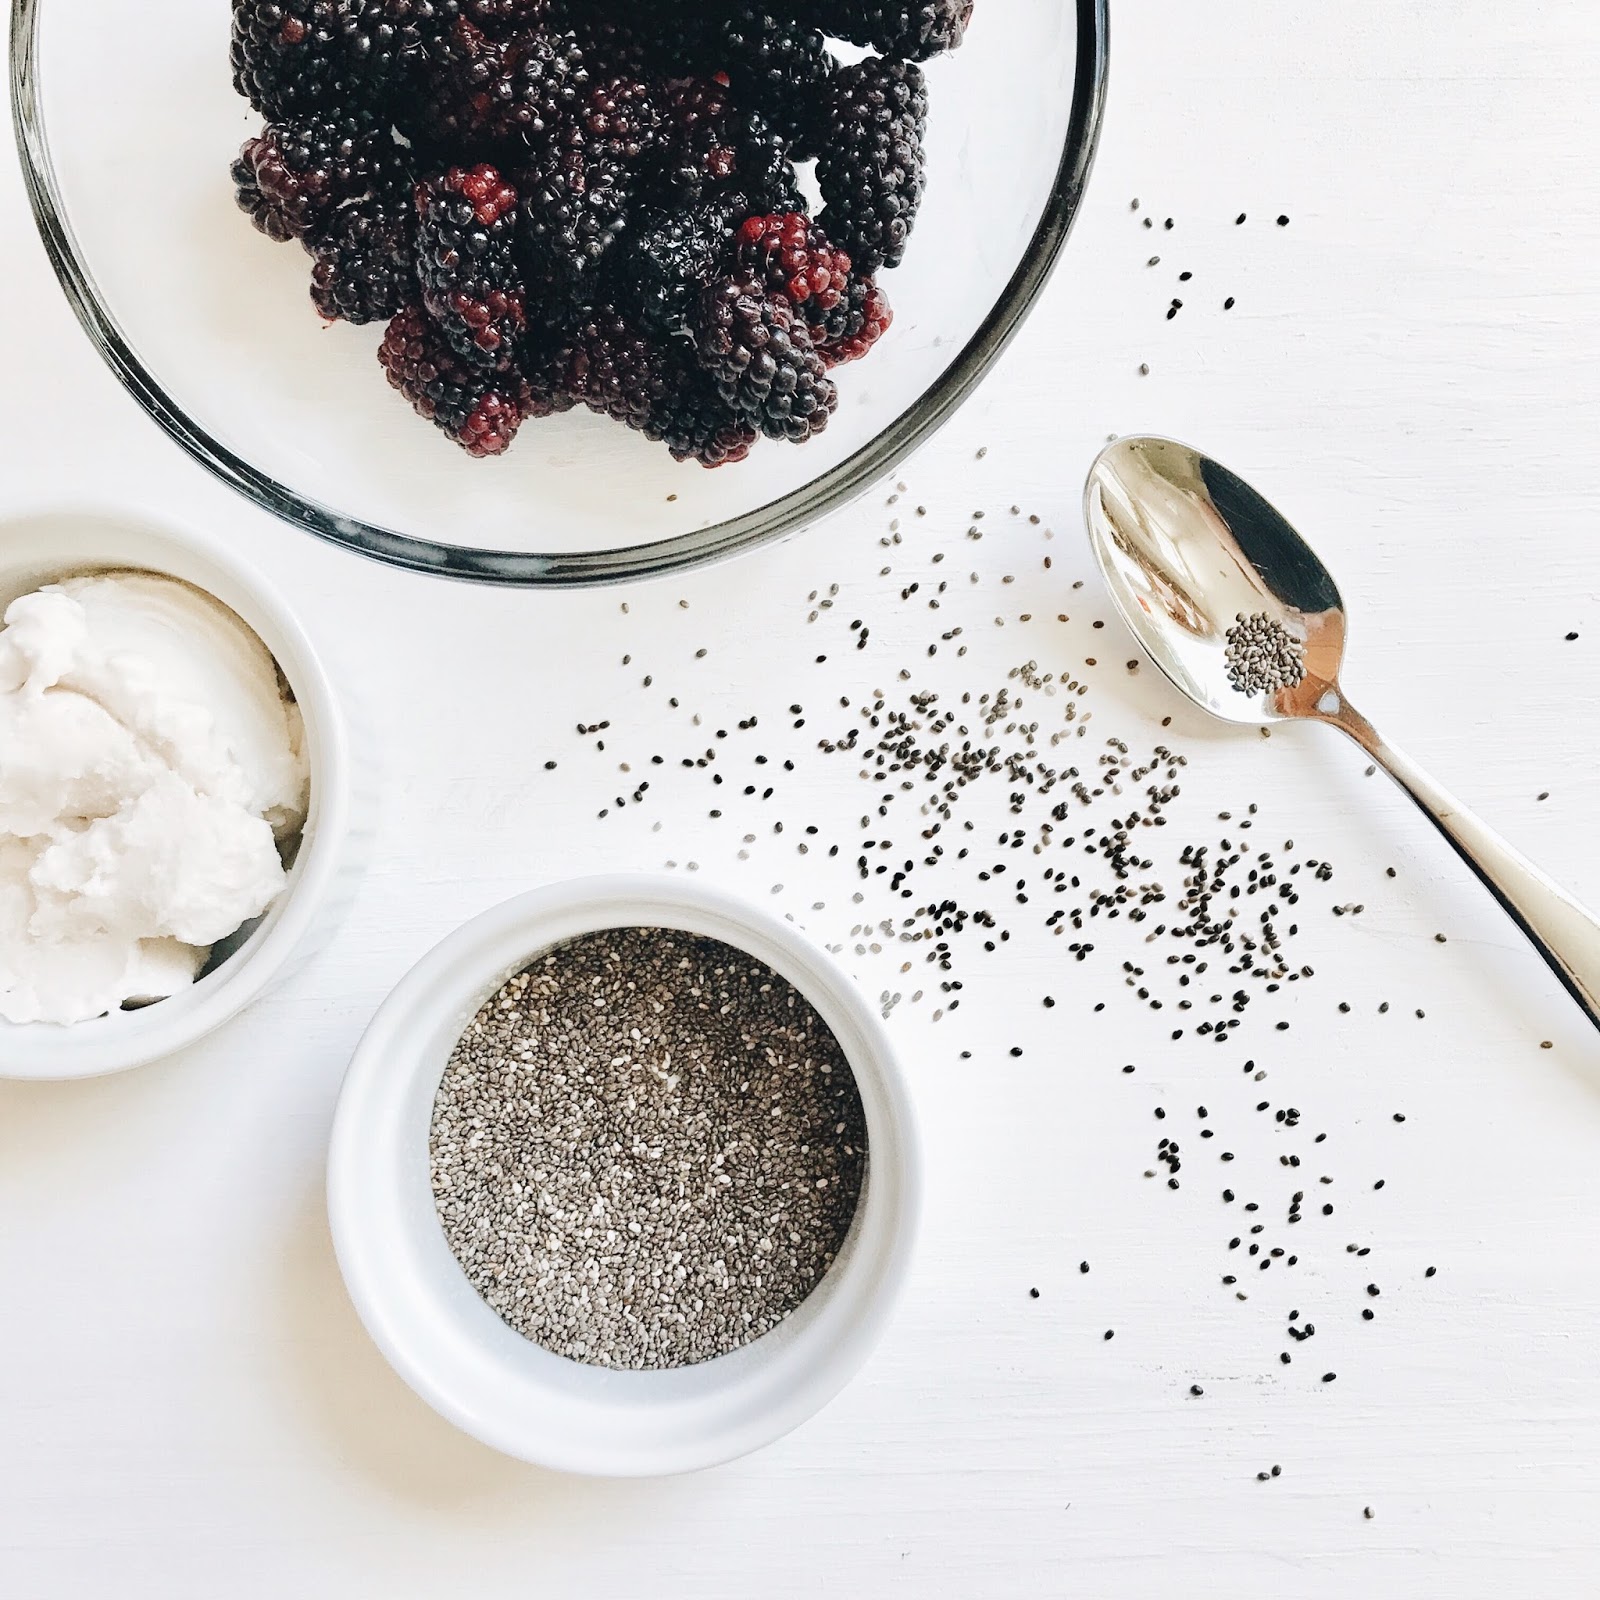
2 cups of frozen marionberries
1/2 cup coconut cream
Maple syrup to taste
Top with chia seeds
Directions:
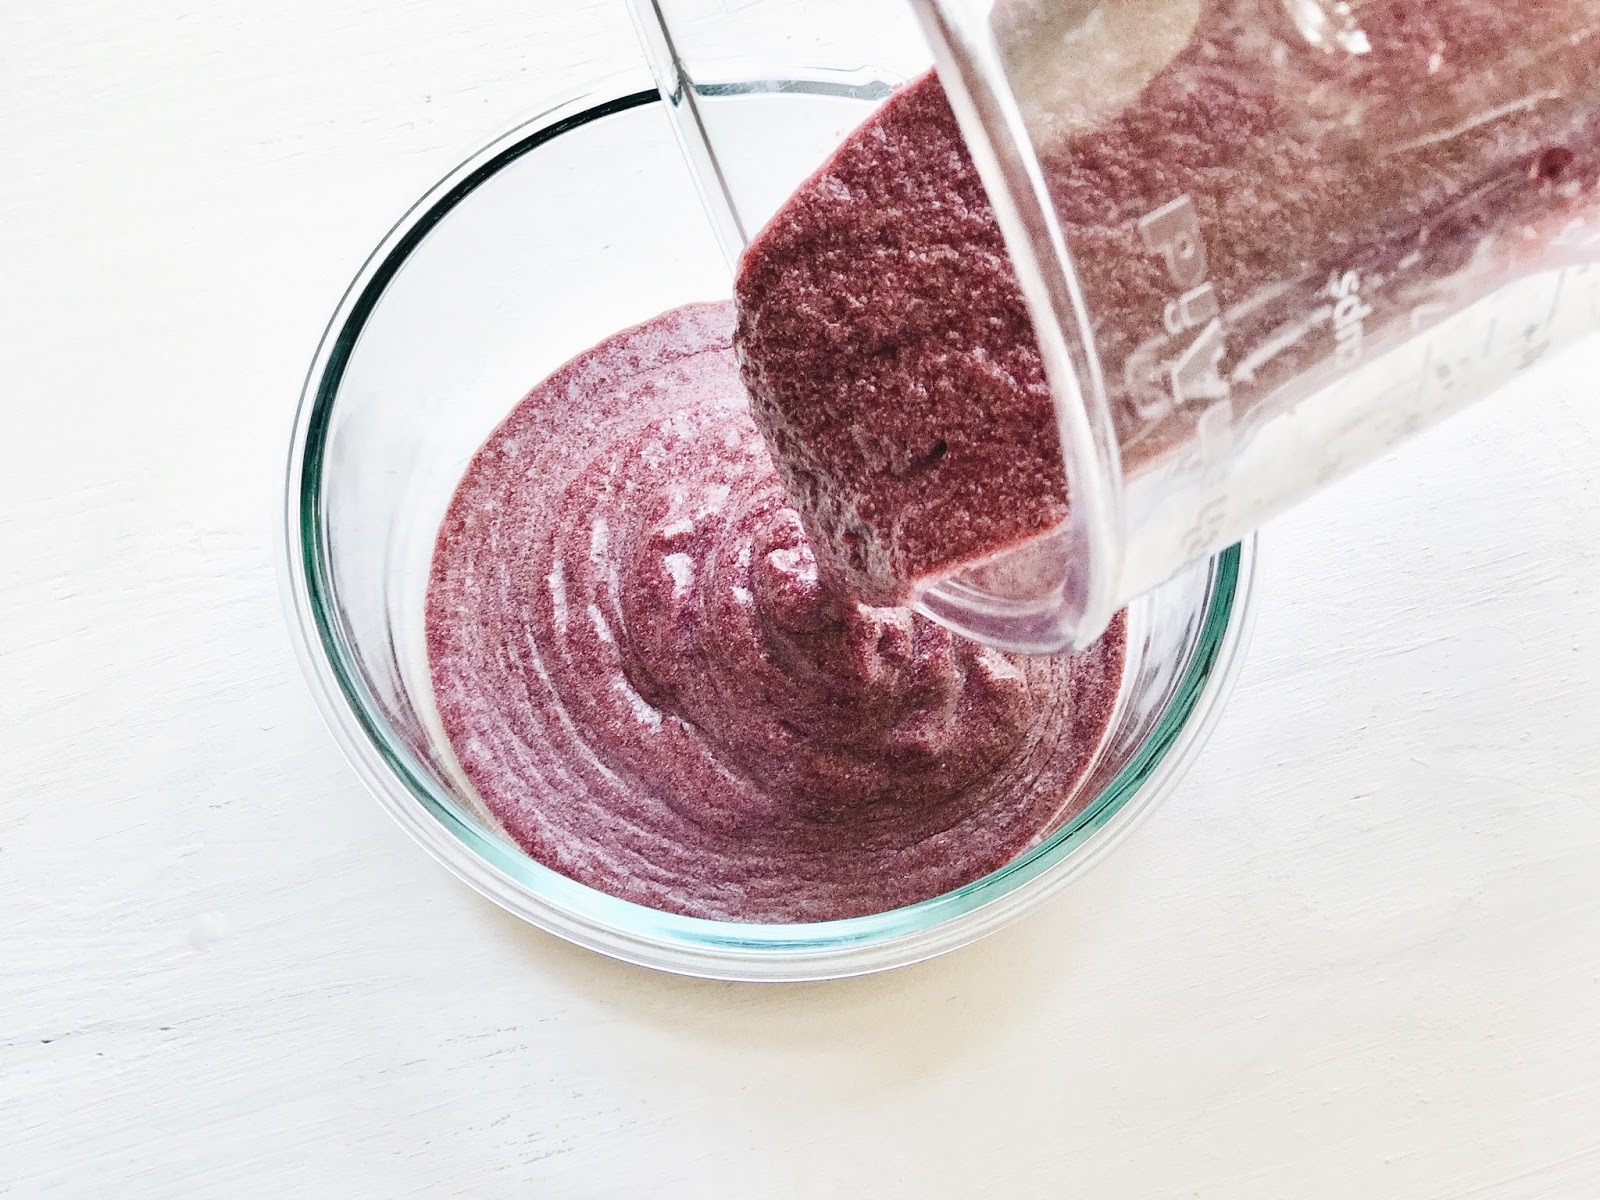
Place banana, berries and coconut cream in a blender and blend on high.
Add in maple syrup (I would start with 1 teaspoon and add more if needed). Blend again.
Pour mixture into 4 small ramekins or a large glass tupperware dish. Cover, and place in freezer for 3-4 hours.
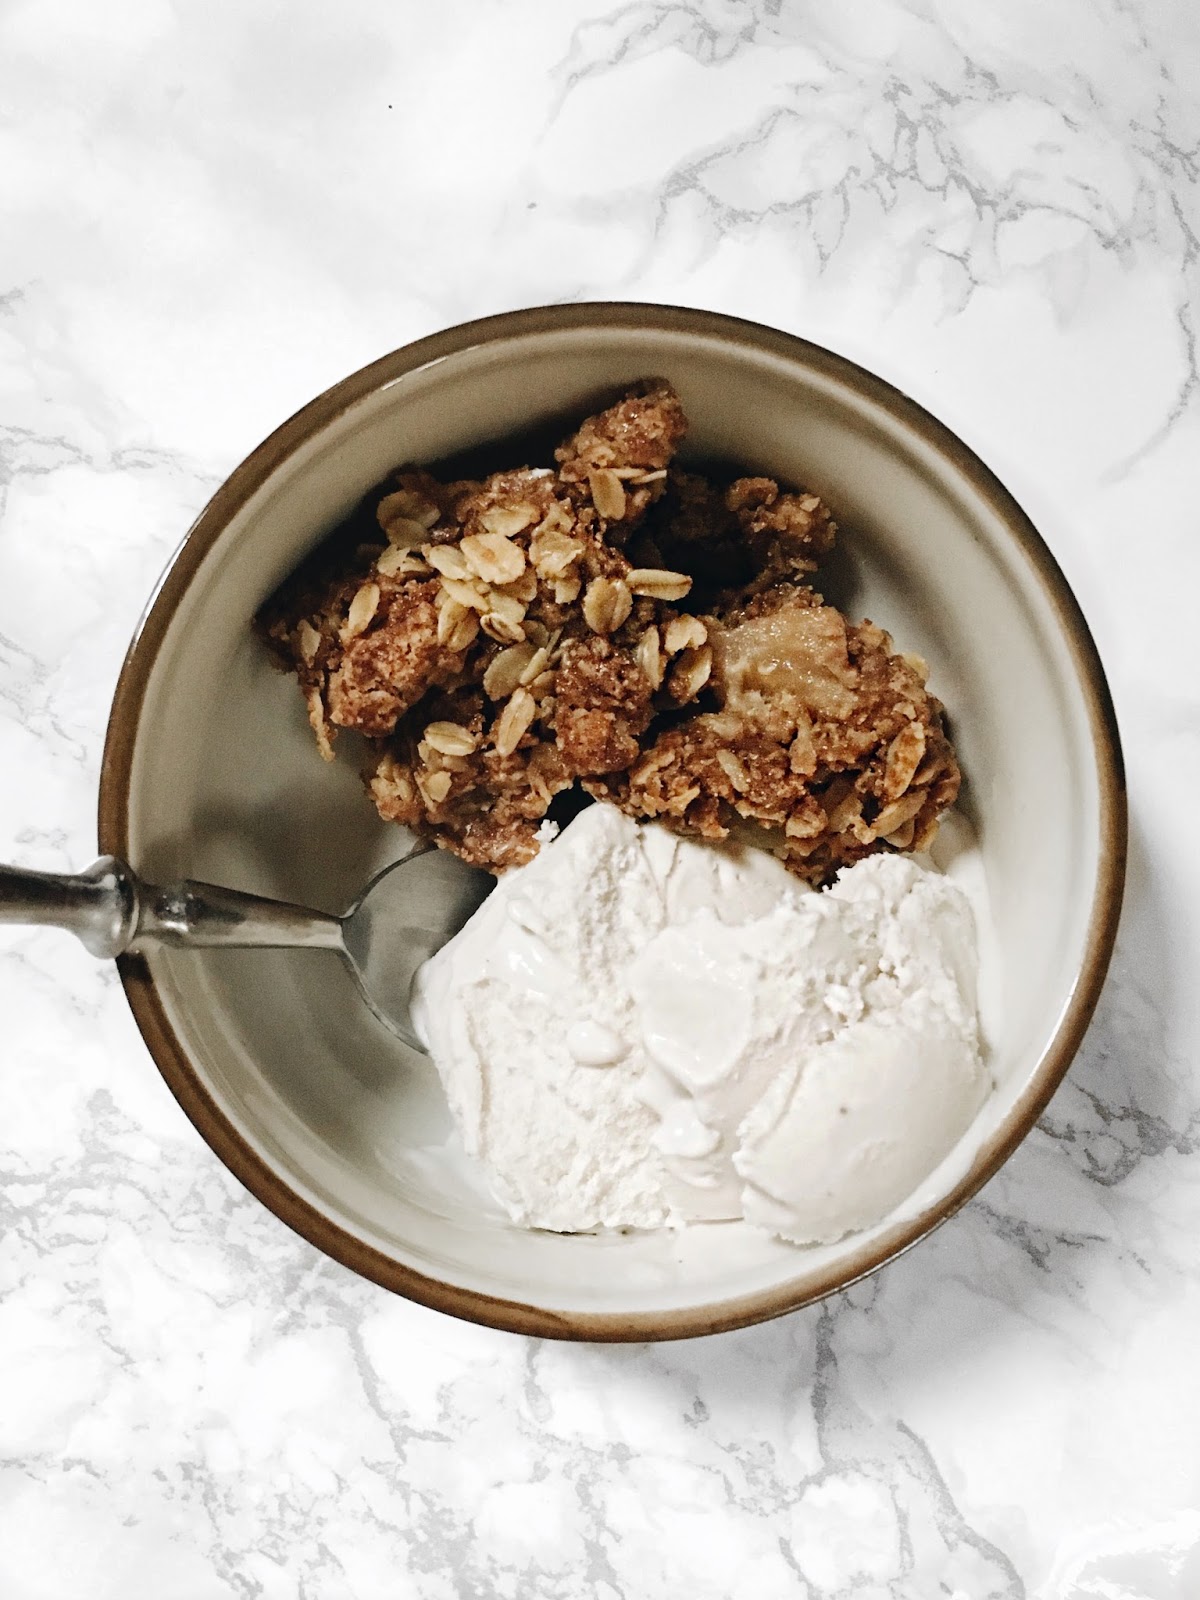
Once frozen, stir the nice cream, and serve with chia seeds sprinkled on top.
You can’t really go wrong with 5 ingredients!
Enjoy! xx